Here's a quick walk through on how to preserve your most precious memories by converting your photos to digital.
Converting a photo to digital files is a great way to keep your memories alive. Fires and floods damage and destroy your photos. But it's important to know, natural disasters aren’t the only threat to your memories. Photos can simply fade or get lost through the years..
By converting your photos to digital files and storing the on a platform you trust, like My Lifejars, you’re ensuring that your memories will be preserved and cherished for generations.
4 Ways To Convert Your Photo To Digital Files
Method 1: Smartphone & App
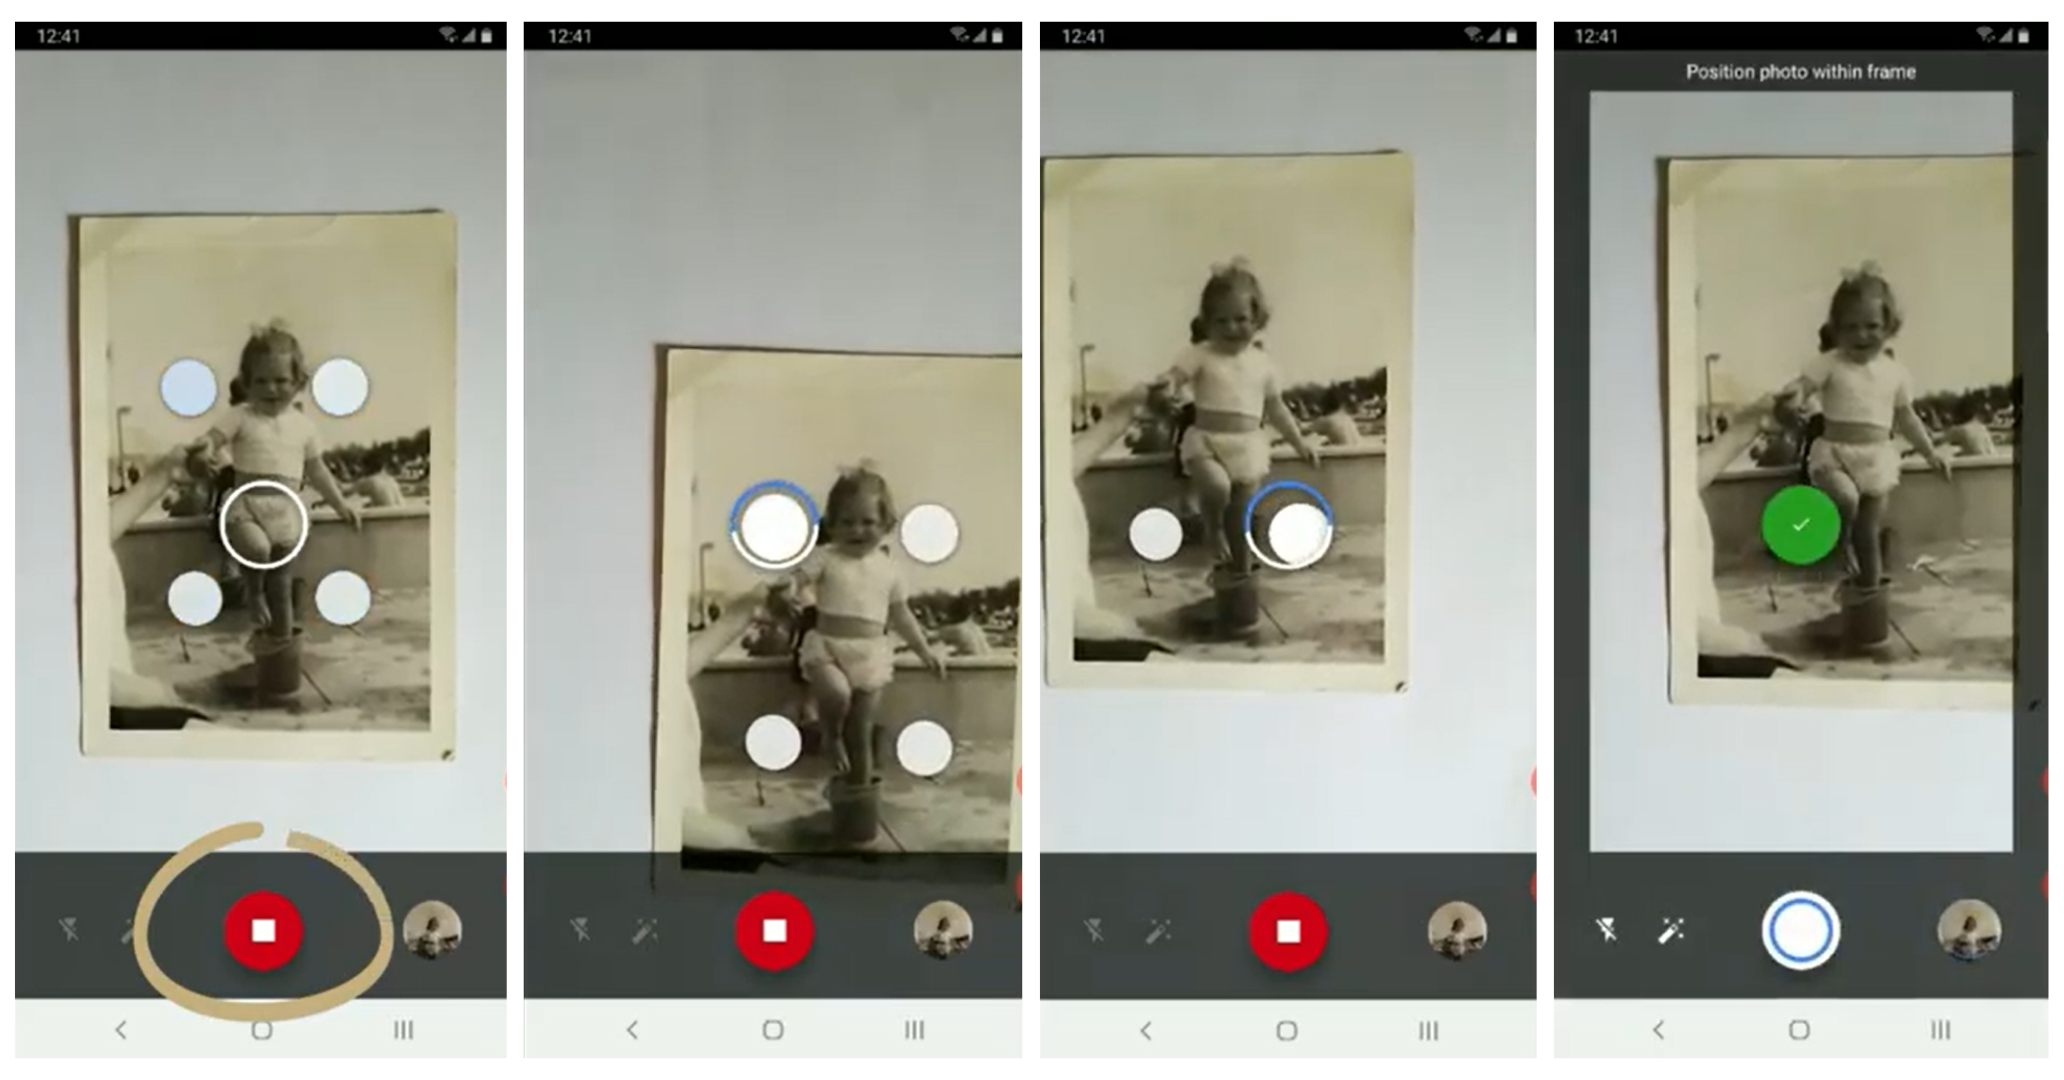
If you already have a smartphone, this will be the easiest and cheapest way to convert your photos. You don’t have to worry about glare, the Photo Scan by Google app will automatically remove it for you. All the photos you scan will be accessible in your phone photo gallery. You can share the image to other places from there. Here is how to do it:
- 1First, open your phone and navigate to the app store.
- 2Then, search for “Photo Scan by Google”. Download the free app.
- 3Put your photo on a white sheet of paper in natural light.
- 4Position the photo in the frame and press the button at the bottom of the app.
- 5Move your camera so that the outline of a circle is positioned over one of the four white dots.
- 6When the blue circle completes an arrow appears. Then move on to the next white dot and repeat for all the white dots.
- 7Finally, the app will format your image and store it in an album.

PROS
CONS
Method 2: Computer & Home Printer/Scanner
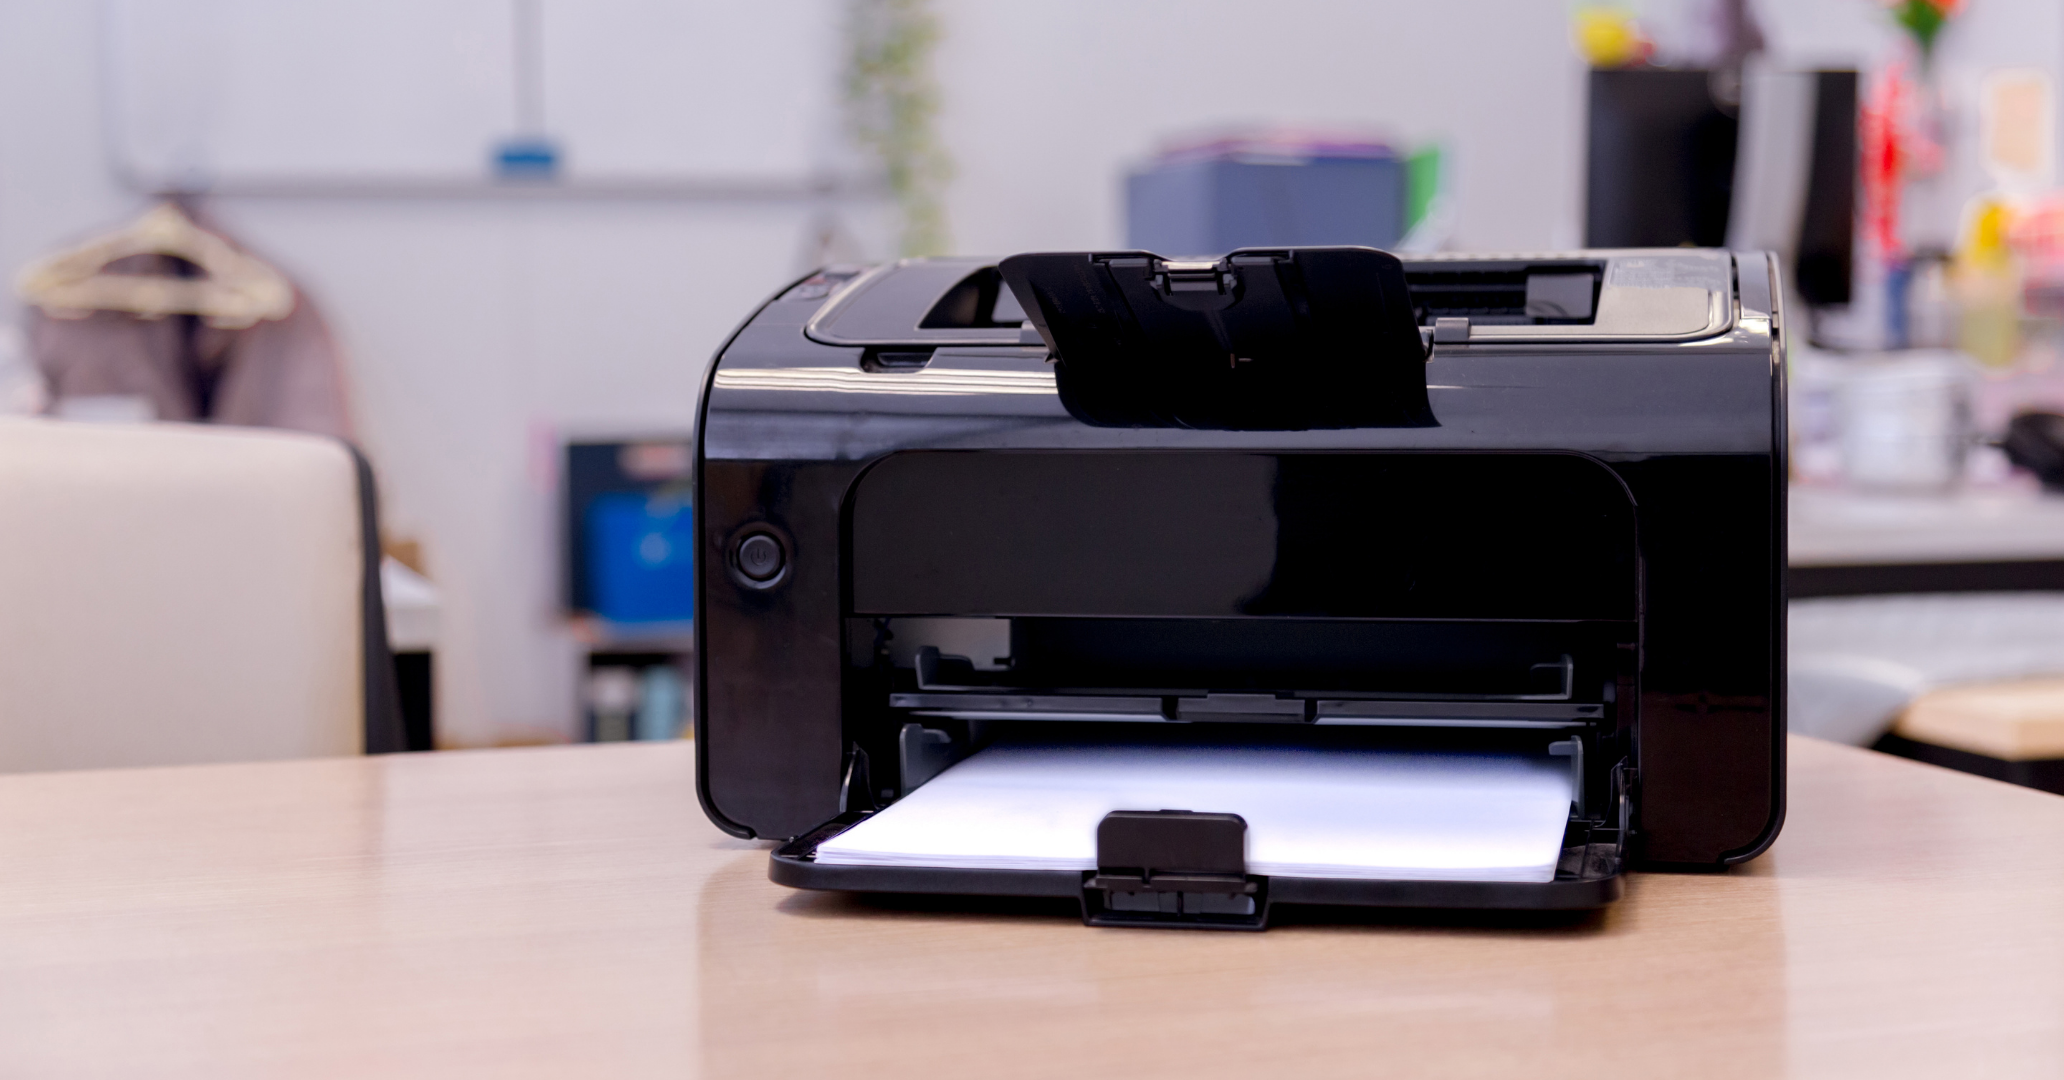
Phones only allow you to scan one photo at a time. But, a scanner can allow you to scan multiple photos at once. It's one of the most common ways to convert a photo to digital file. Here is how to do it:
- 1First, place two to three images on the bed of your scanner.
- 2Then adjust scanner settings so the images get stored in the file you want.
- 3After that, press the scan button.
- 4Finally, use a tool on your computer to remove blemishes and optimize the image quality.

PROS
CONS
Method 3: Specialized Photo Scanner
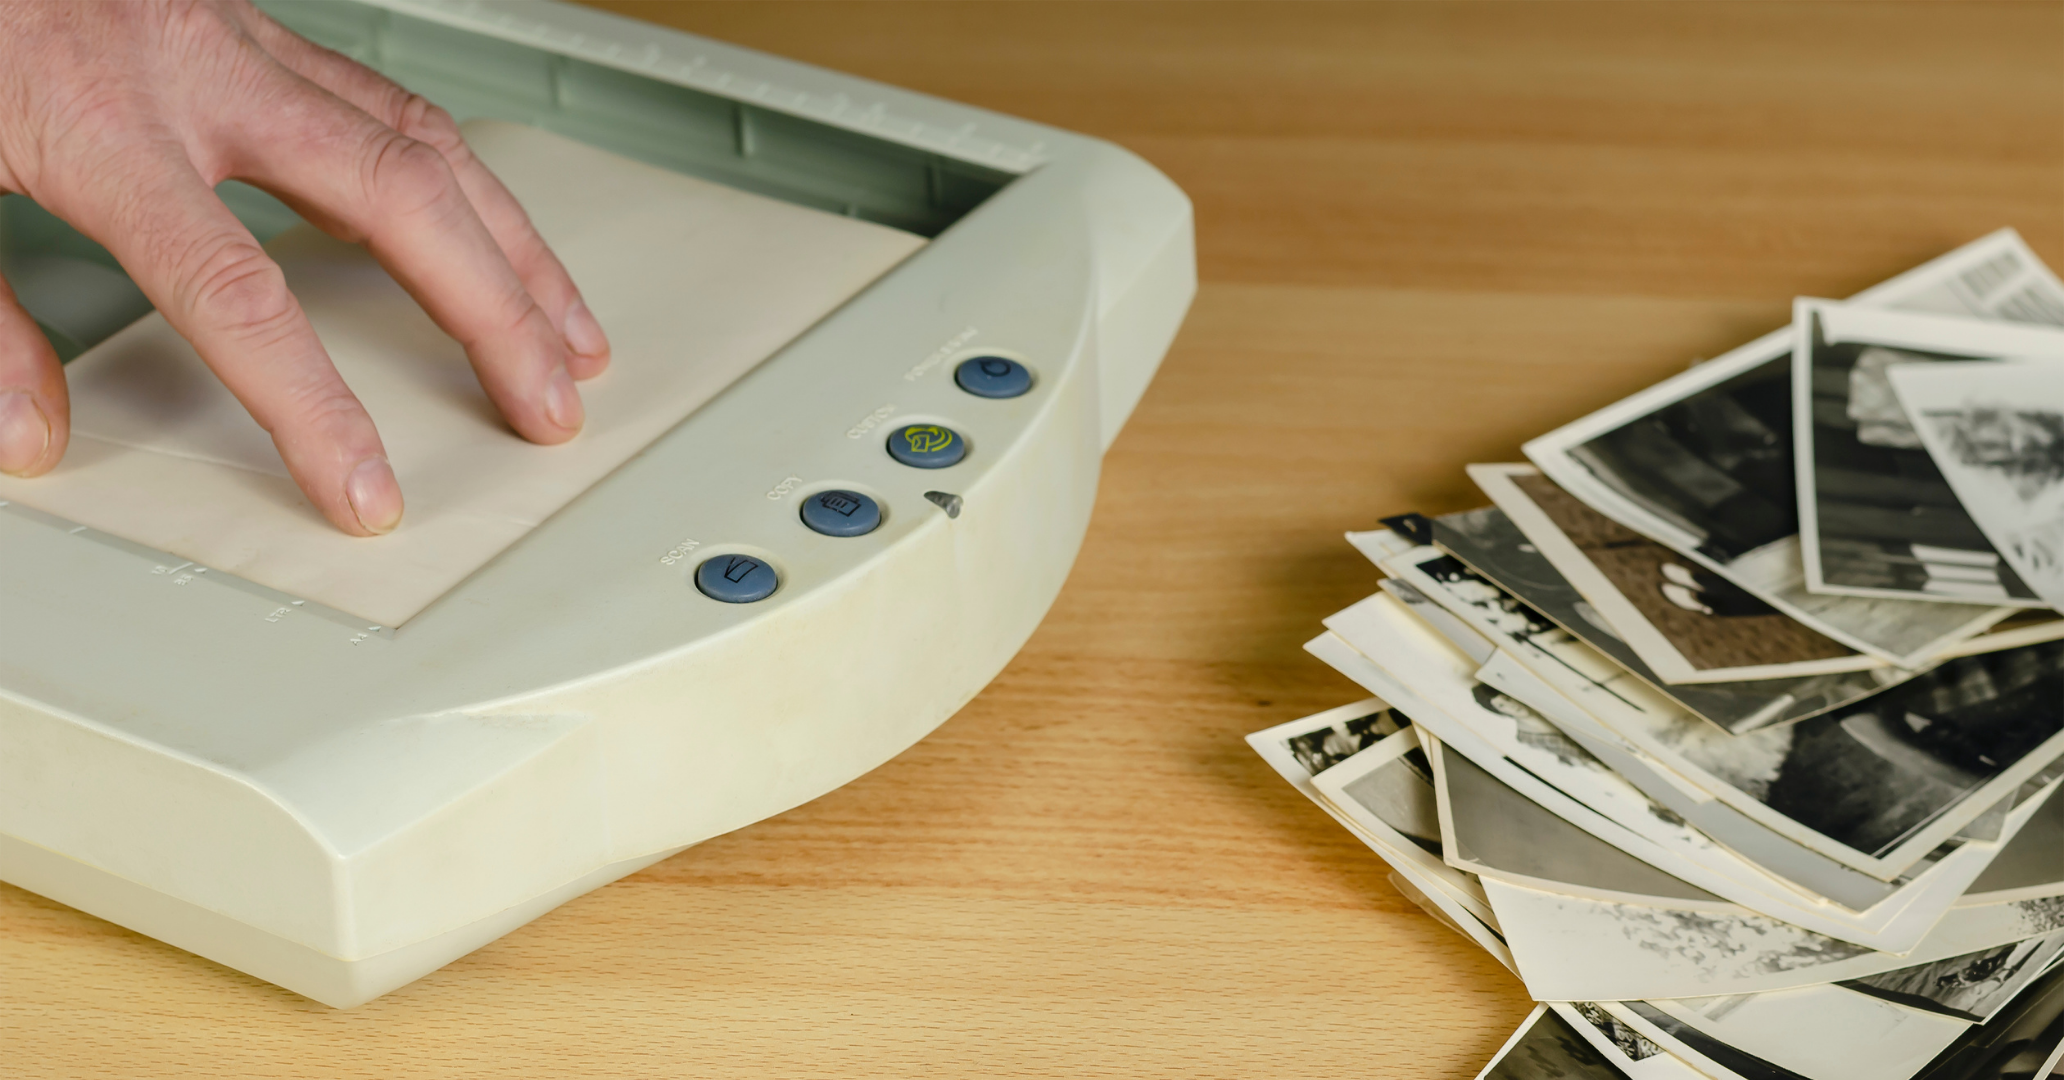
A special photo scanner works much like a printer scanner. The steps to use it are the same. But, it's specifically for photos instead of any type of document. A lot of specialized scanners will also automatically adjust your photo quality, which saves you a ton of time. You can purchase these scanners online or in camera stores.
Purchasing a specialized scanner is a good idea if you have boxes and albums of photos to convert.

PROS
CONS
Method 4: Scanning Service
There are photo scanning services that can convert all your photos to digital for you. This is a great option if you have a ton of photos but not a lot of time to convert them. Search Google to find local scanning services.
PROS
CONS
What Method Should You Use to Convert Your Photo to Digital?
The method you pick will depend on the time and money you have available. After you convert a photo to digital, you'll need a place to store it properly. My LifeJars is a great way to store all your photos and special documents. Click here to protect your memories today.
